
Friday, June 3, 2011
Is it herb or herb?
I like buying plants at Lowe's because if my green thumb is broken, I can return a dead plant that I bought there (with a receipt that you have to copy so it doesn't fade) for up to a year! With that in mind, and the fact that I was constantly buying herbs at the grocery store, I bought some herbs for home. I have a tomato plant, a cucumber plant and some flowers of Hailey's mixed in there too. So far, so good!

Thursday, June 2, 2011
Balls of cake on a lolly pop stick = cake pops!
So, this was my first attempt at making cake balls. (Recipe here. I was really determined to have my cake balls round and not flattened on one side from sitting on a flat surface. So, I took a coupon to JoAnne Fabrics and bought a long block of styrofoam. Then I took a metal measuring spoon and scooped out the styrofoam to make places for the cake balls to sit.

I then covered the styrofoam with Glad Wrap Press'n Seal (I love that stuff!!) I then cut the styrofoam into four blocks so that they would fit in my freezer.

I got so into my project, I didn't take any more pictures until I was done. But this is the final project. How did I make the board the pops were sticking out of? I found a shallow thick cardboard box in the pantry. I covered it with Christmas wrapping paper but exposing the back side which was white, and then took a screw driver to make the holes for the cake pops to sit in. It held up so well that I can use it again! :)

Wednesday, June 1, 2011
My family rules! And we have rules too...
I love the blog Jones Design Company. She created a Family Rules art print that I would have loved to buy to support her but instead I had to be inspired to make my own. I liked the rules that she had...
Be kind
Creativity is always encouraged
forgive, forgive, forgive
Make good choices
Have Fun
give (lots of) hugs
Say your prayers
Love One Another
So I took scrapbooking paper that I already had, typed the rules in Microsoft Word in the fonts that liked. I put one rule on each page at the top. Then one page at a time, I printed the rules out on the scrapbooking paper, making each page/rule on a different scrapbook paper pattern and this is what I got...

Then I cut the paper that said "...Family Rules..." on it to the size of the frame I would use. This would be the paper that I would glue the rules onto. I cut the rules into strips of paper and glued them in order onto the Family Rules paper. Then I put it in a picture frame that I already had and this is what I got...

So, please go check out Jones Design Company's blog and all the prints she has for purchase. They are adorable! But, in case you are like me and must be crafty with the things you already have and like what she did, you now know how I did it! :)
Wednesday, April 20, 2011
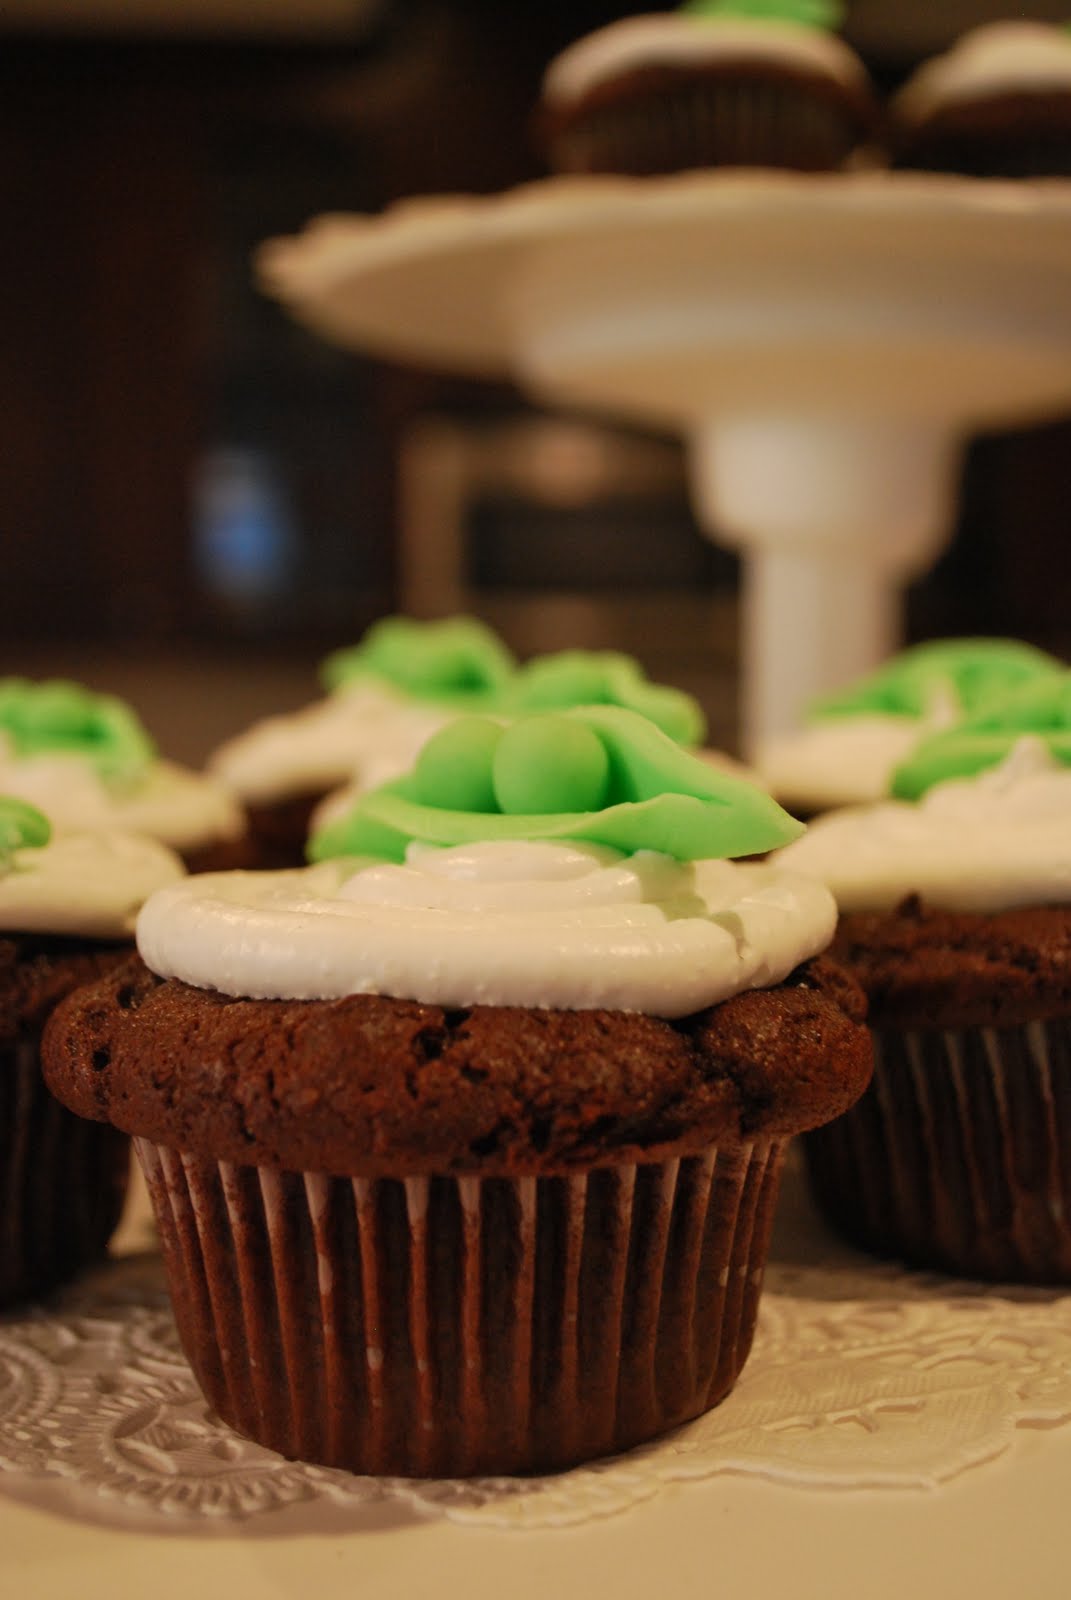
A baby shower!
It was so much fun hosting my sister's baby shower. The little guy is going to be here so soon! We call him "Yoda" since he doesn't have an official name yet. :) My sister's invitations had a baby in a pea pod on it so I decided to stick with that theme. You could say the food theme was chocolate. Chocolate cake and cupcakes, brownies, chewy chocolate chip cookies. Yummm!!!


Monday, April 18, 2011
Re-purposing a cake stand
I love to make desserts and put them in my beautiful glass cake stand. But when I don't have desserts, I wanted to still use the cake stand as a display. I bought this bird at JoAnn's on clearance. I had the next tucked away in a box somewhere and painted wooden knobs an ivory color. Then I put them in my cake stand. How cute!!


What do you have that you could display in your cake stand?


What do you have that you could display in your cake stand?
Saturday, April 9, 2011
The perfect meal for your special someone!
The sweetness of the honey combined with the earthiness of rosemary and zing of shallots, lemon and garlic will send your taste buds into a whirl with this recipe!
Personally, I think one of the best dates is cooking together. The kitchen is always a great place for conversation, you learn more about each other when you are interacting (instead of watching a movie), etc. And of course then you end up with a yummy meal!
This meal is also a great one to impress the one you love. So simple yet scrumptious!
Ingredients
* 2 tablespoons EVOO – Extra Virgin Olive Oil, divided
* Salt and black pepper
* 4 6-ounce pieces boneless, skinless chicken breast
* 1 large shallot, finely chopped
* 2 cloves garlic, finely chopped
* 3 sprigs rosemary, finely chopped
* 1/2 cup honey
* 1 rounded tablespoon Dijon mustard
* Juice of 1 lemon
Preparation
Heat 1 tablespoon EVOO, a turn of the pan, in a large skillet over medium-high heat. Season chicken with salt and pepper. When oil smokes, add chicken to the pan and cook 6 minutes on each side. Remove from pan and cover with foil.
Reduce heat under pan to medium and add another tablespoon EVOO, a turn of the pan. Add shallots, garlic and rosemary to pan and cook 2-3 minutes. Add honey, stir in Dijon and lemon juice. Add chicken back to the pan and coat on all sides with the bubbling glaze. Turn off heat.
Serve with some brown or white rice and steamed green beans. Yummo!
All credits for this recipe go to Rachael Ray Show. See the full recipe and picture here!
Enjoy!
Thursday, April 7, 2011
Put pizza and burgers together and what do ya get?
PIZZA BURGERS!!
Kids will eat it up, it is affordable, daddy likes it because there's meat and mommy likes it because it is easy! A win win for the family!
Ingredients...

1 lb. ground beef 1/3 c. chopped onion
1 tsp. oregano leaves 8 oz. shredded mozzarella (if I have extra I put more in)
4 oz. can sliced mushrooms, drained
14.5 oz. can of pizza sauce
8 hamburger buns
In a large skillet, brown ground beef & onions then drain. Put beef and onions in a mixing bowl. Add mushrooms & oregano. Heat oven to 400 degrees and refrigerate mixture.

Once oven is pre-heated, take mixture out of refrigerator. Stir cheese into hamburger mixture. Separate sliced buns onto cookie sheet face up. Spoon mixture onto sliced buns and place on cookie sheet. Bake 10 minutes or until cheese is melted.

TIPS:
Have your dishwasher empty and instead of putting your dirty utensils and pans in the sink, rinse them and put straight into dishwasher.
Cover cookie sheet with foil... then you don't have to wash it. :)
Subscribe to:
Posts (Atom)